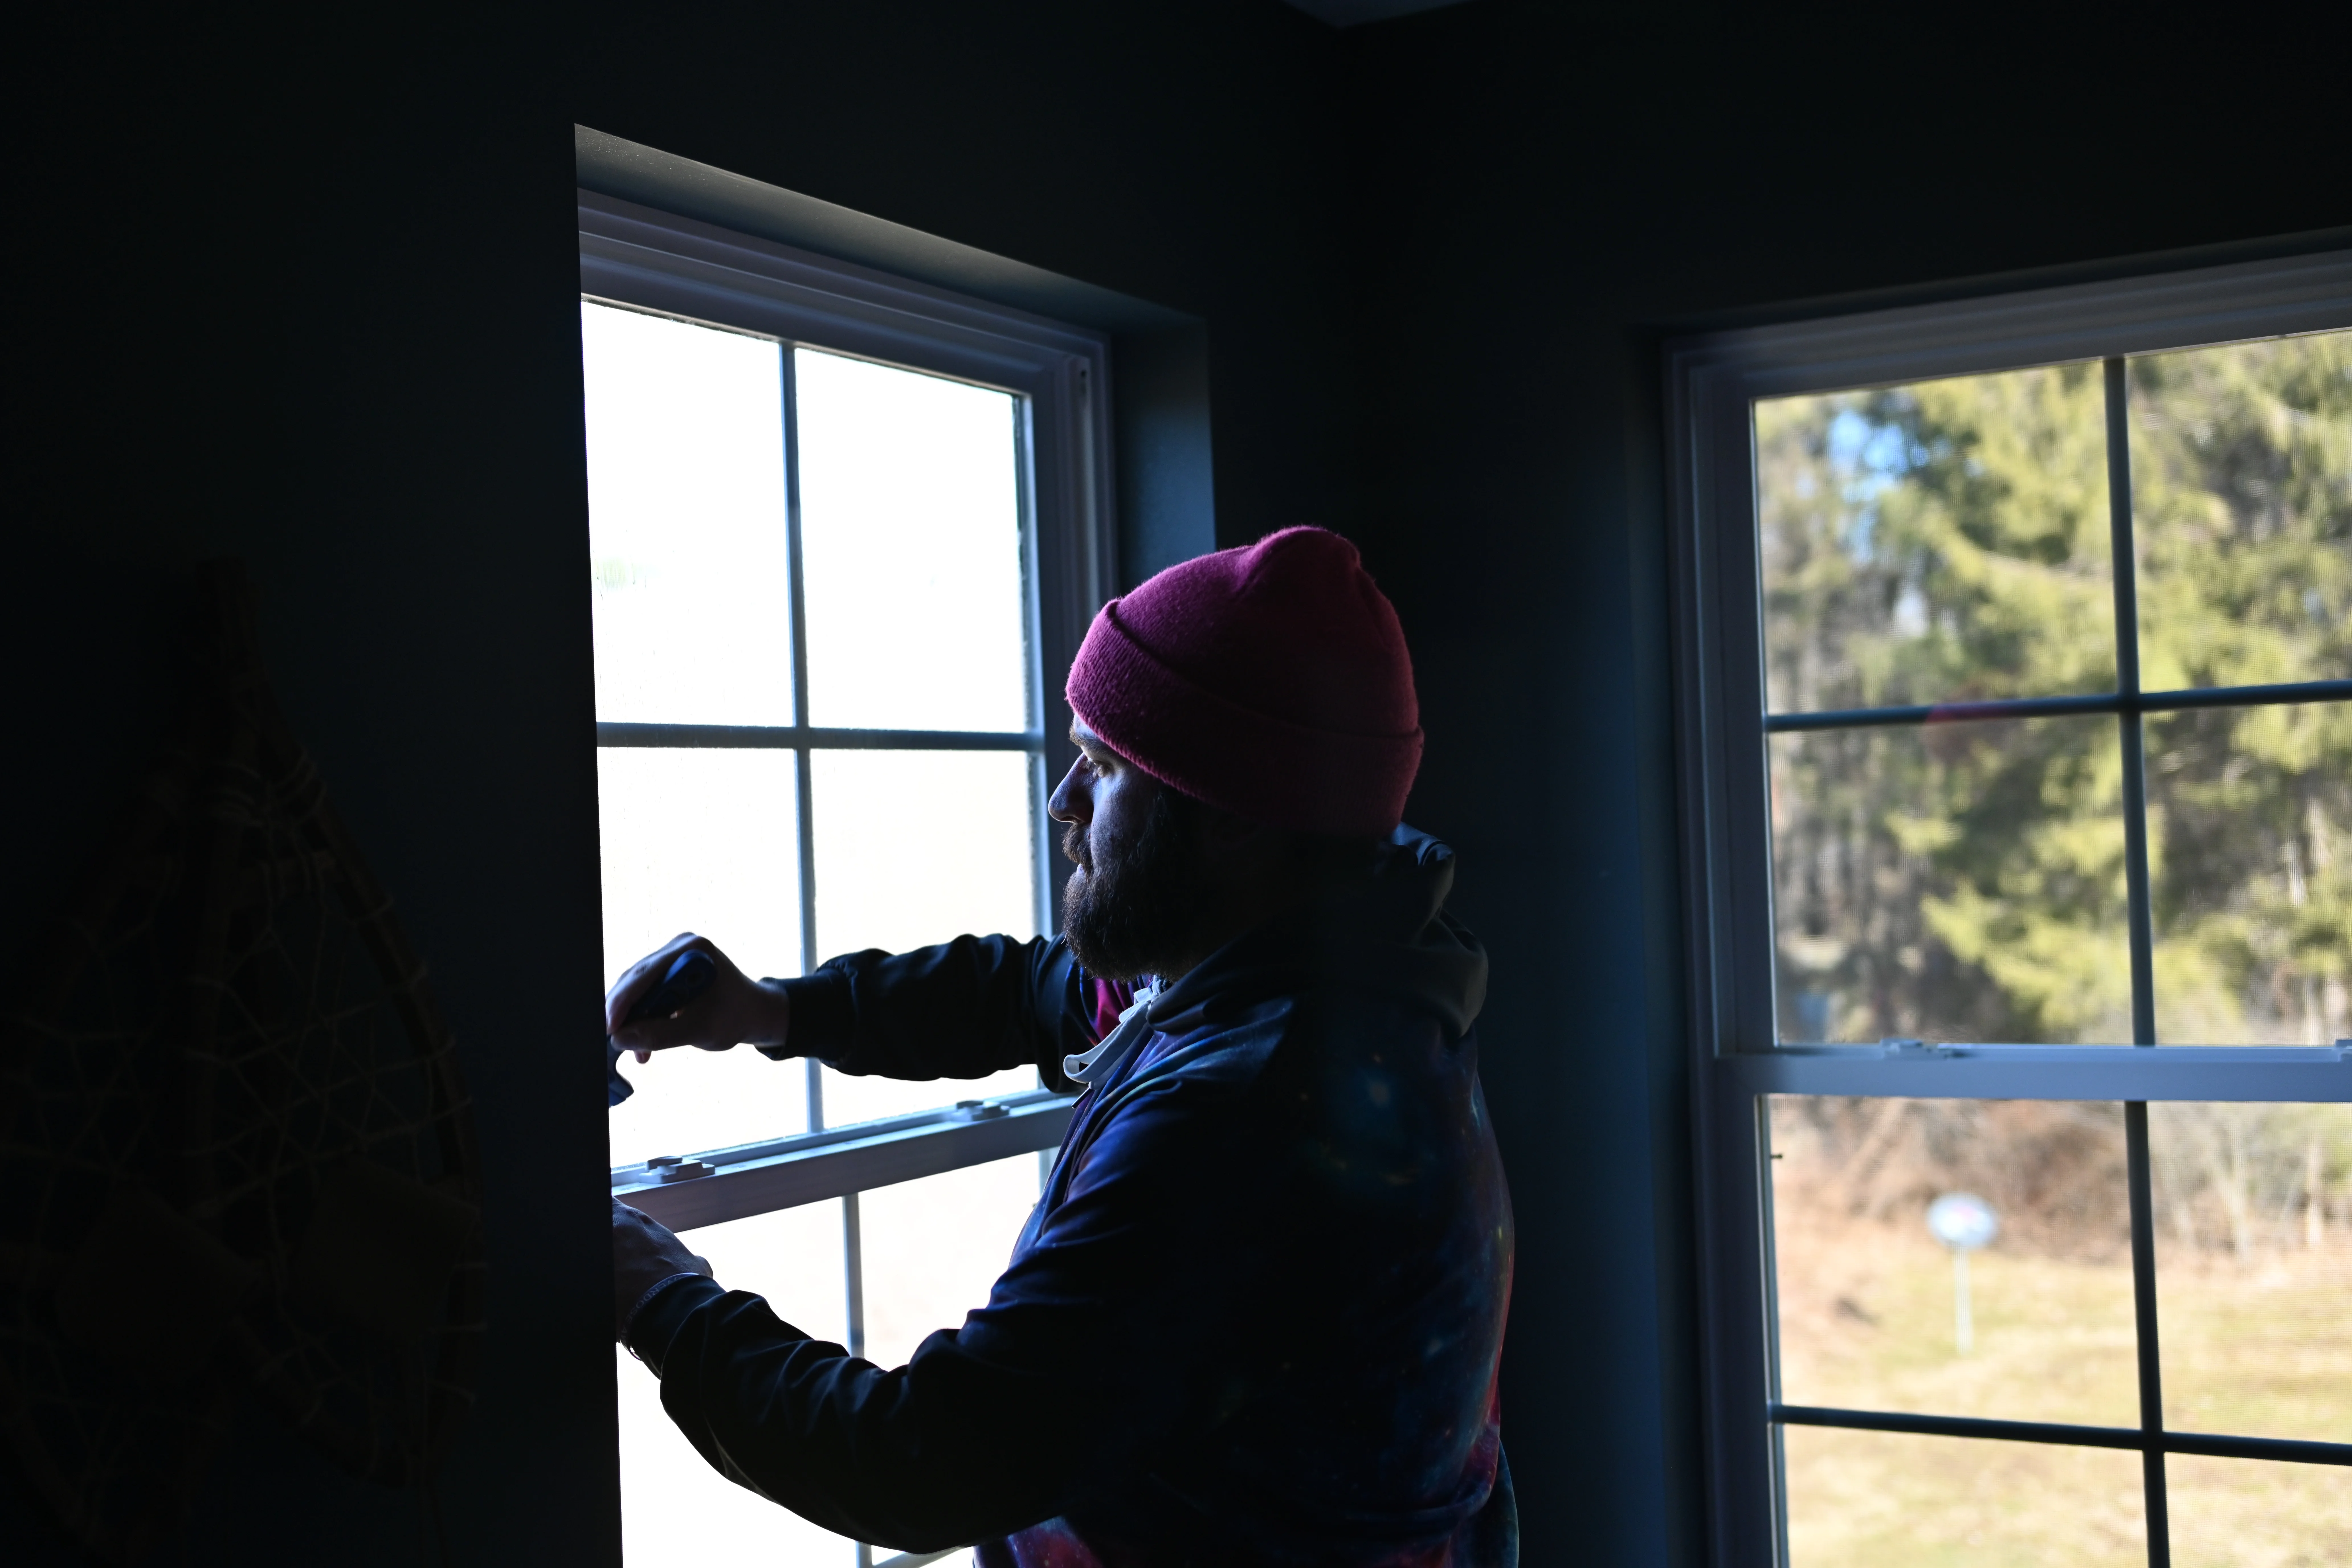
DIY Home Window Tinting: Everything You Need to Know
DIY Home Window Tinting: Everything You Need To Know.
Ready to save money and make your daily life at home that much better? DIY home window tint might be your best bet! Window tinting can help reduce heat, protect your favorite sofa, and make your home look awesome.
What is DIY Home Window Tinting?
With DIY home window tinting you add a special film to your windows with a kit you can find online or just a few tools from the local hardware store. This film blocks heat, gets rid of that glare on the TV and gives your windows a sweet, modern look. Its like sunglasses for your house!Lorem ipsum dolor sit amet, consectetur adipiscing elit. Ut elit tellus, luctus nec ullamcorper mattis, pulvinar dapibus leo.
Why Consider DIY Home Window Tinting?
Some of the most common reasons from adding tint to your home windows is:
- Lower energy bills
- Better temperature control (no hotspots)
- Protection from harmful UV rays
- More privacy
- Improved home appearance
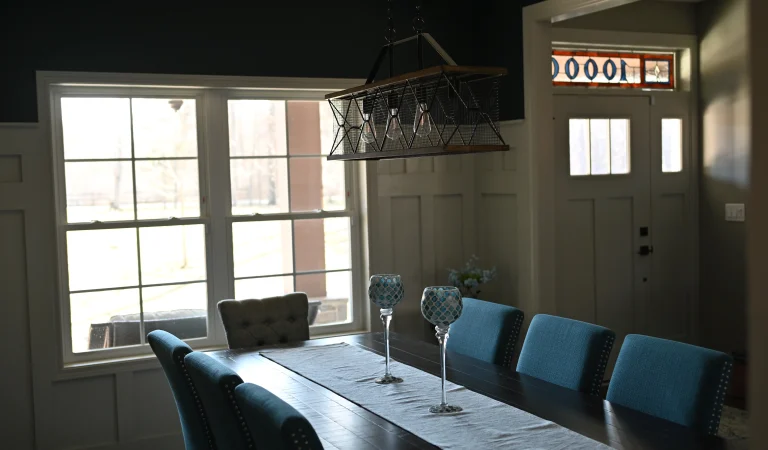
Getting Started with DIY Home Window Tinting
The list of tools you need for DIY home window tinting:
- Window tinting film
- Spray bottle with soapy water
- Handheld Squeegee
- Utility knife opr razor
- Measuring tape
- Clean, preferably band new, microfiber cloths
- Patience and steady hands
Preparing Your Windows
For the best results with DIY home window tinting, your prep should look like this:
- Clean windows thoroughly
- Measure windows (twice)
- Create a dust-free area to work in
- Choose a day with mild temperature
- Have all your tools nearby or use a toolbelt to hold everything
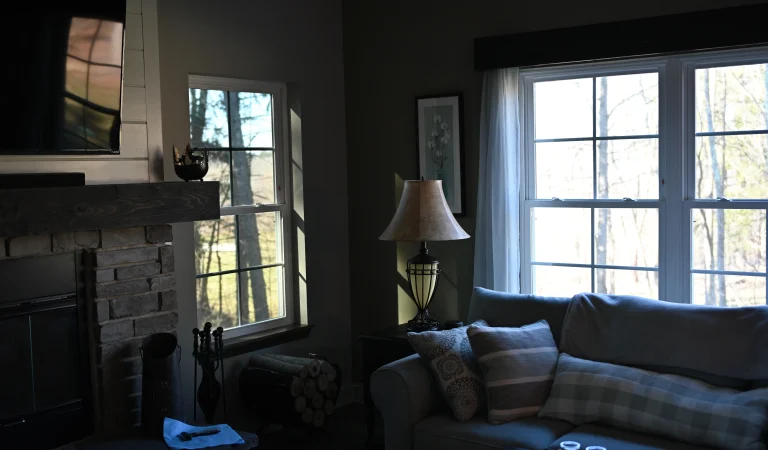
Choosing the Right Window Tint
Not all window tints are the same. You should start with doing some research on the different types of window tinting films and understand your goals before buying a roll. Some films are meant for blocking out heat and damaging UV rays. Others are specifically designed with security and privacy in mind. There are many films that offer some benefits in all categories with a range of color and opacity options. One other thing to mention is that you may want to check with the HOA in case they have guidelines on home window tint films.
Types of Window Tinting Films
To help with your initial research, break it down into these categories:
- Reflective films
- Ceramic films
- Solar control films
- Privacy films
- Decorative films
Step-by-Step DIY Window Tinting Process
Here’s a basic guide to tinting your windows:
- Clean windows completely and let them dry. Avoid using harsh chemicals that may sit on the window once dried.
- Cut film to window size, leave some wiggle room so you can make sure the entire window is covered around all edges.
- Spray window with soapy water. You need to find the right balance for the amount of soapy water used on the window. You don’t need to soak the house but you need enough liquid to adjust the film into the correct position for the best fit.
- Apply film carefully. Do your best not to crease the film because this may be visible after your installation is complete.
- Use a squeegee to remove air bubbles and excess liquid. Be careful not to dig in with the corners of the squeegee and cause damage to the film.
- Trim excess film once you are happy with the way the film is situated on the window. Use a sharp razor so you cut on the first try and dont pull/peel the film back off the window.
- Let film dry completely
Common Mistakes to Avoid
Watch out for these DIY window tinting problems:
- Bubbles in the film
- Dust under the tint
- Incorrect measurements
- Uneven application
- Using low-quality materials
Benefits of DIY Window Tinting
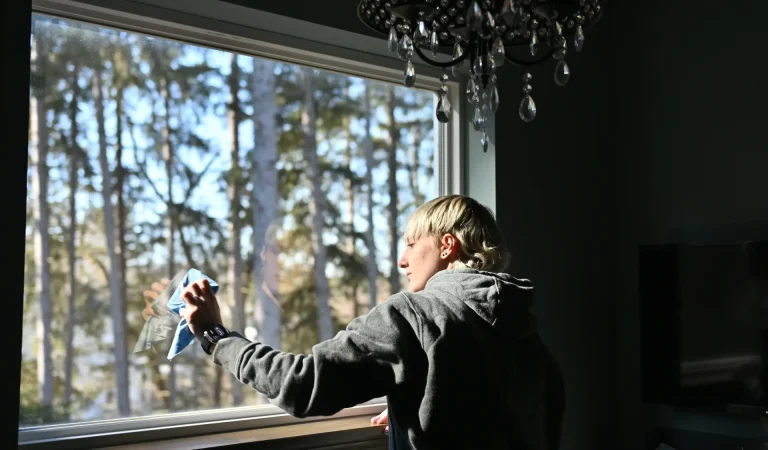
When done right, window tinting can lower your home energy costs by nearly 30% according to some estimates. This is due to less fluctuation in temperature causing the HVAC system to work overtime to keep your thermostat steady. With less UV rays coming through the window you will benefit and so will your furniture, carpets and prized possessions. Your home will be more comfortable and you’ll be able to watch the game without shifting seats to avoid the glare. These are all benefits from inside your home but also consider the exterior upgrades. Depending on the film you select your home windows will look better and also give more privacy when you’re home at night with the lights on.
Want all these benefits without doing the work on your own? CLICK HERE to reach out to Prestons Sun Control for a quote on your home window tinting project today!
Money-Saving Tips
Ways DIY home window tinting can save you money:
- Cheaper than professional installation
- Reduces energy bills
- Protects furniture from sun damage
- Increases home value
- Extends window life
.
When to Call a Professional
Sometimes, DIY isn’t the best choice. Consider professional help if:
- Your windows are unusually shaped
- You’re not comfortable with detailed work
- You have expensive or complex windows
- The project seems too challenging (2 story foyer)
Maintenance and Care
After tinting, keep your windows looking great by cleaning them gently with soft cloths. Microfiber is preferred. Always avoid harsh chemicals. Opt for water and dawn dish soap for most cleanings. It is best to wait a few days after installing before you clean the window. This it to make sure they are secured properly before apply force in any direction. Keep an eye out for lifting and damage to the films. This commonly begins in the corners of the windows.
Thinking about DIY home window tinting? With the right preparation and careful work, you can transform your home’s look and comfort! Live in Northeast Ohio? CLICK HERE to get in touch with the pros at Prestons Sun Control today!

