
How to remove window tint from house windows. Are you staring at old, bubbling, or fading window tint in your home and wondering how to tackle its removal? You’re not alone. Many homeowners in Mentor, Ohio, and surrounding areas find themselves dealing with aging window tint that’s just not cutting it anymore. Whether your tint is peeling, fading, or simply outdated, removing it might seem like a tall task – but it’s doable with the right approach and a little bit of know-how.
Why Remove Old Window Tint?
Before we dive into the removal process, let’s talk about why you might want to remove your existing window tint. Over time, window film can develop air bubbles, start peeling at the edges, or turn purple due to UV exposure. Sometimes homeowners simply want a fresh start with newer, more energy-efficient film, or they’re preparing to sell their home and want clean, clear windows.

What You’ll Need for DIY Window Tint Removal
The good news is that removing window tint doesn’t require expensive specialty tools. Here’s what you’ll need:
Basic supplies:
- Hair dryer or heat gun
- Razor blade scraper or plastic scraper
- Soapy water solution
- Clean rags or paper towels
- Adhesive remover or Goo Gone
- Ammonia-based cleaner (for the tough adhesives)
- Plastic sheets and newspaper
Safety note: Always ensure good ventilation when using chemical products, especially ammonia-based cleaners.
Step-by-Step Window Tint Removal Process
Step 1: Prepare Your Work Area
Start by laying down plastic sheets or newspaper around your windows to catch any adhesive residue or cleaning solution drips. This preparation step will save you significant cleanup time later. If you don’t, you will remember reading this while you’re trying to get your vacuum cleaner to pick up the little sticky mess on your entire floor.
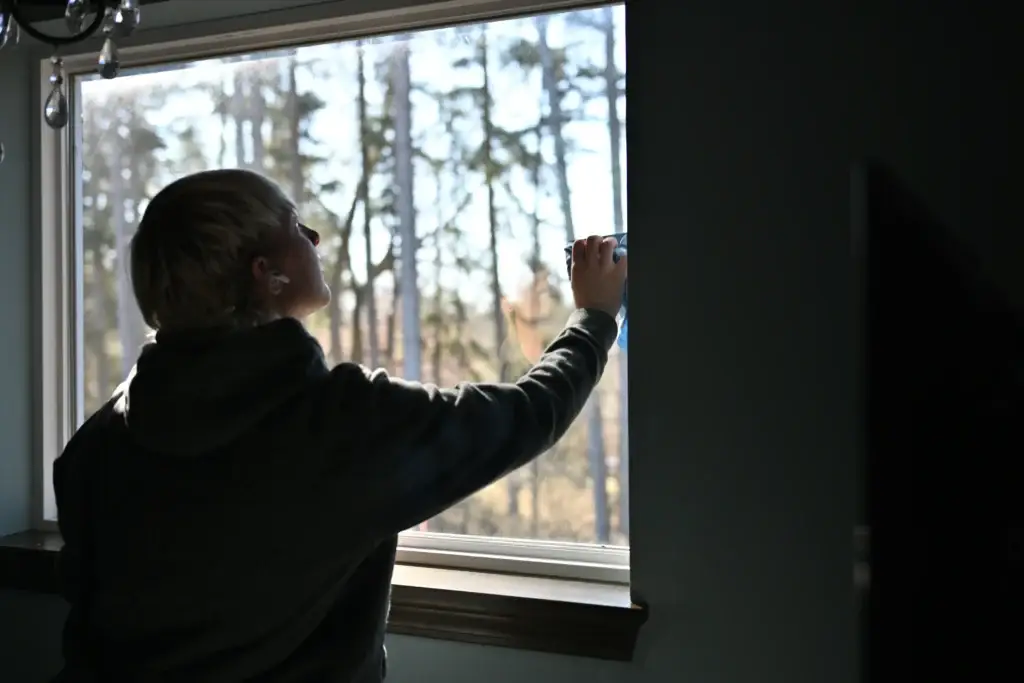
Step 2: Apply Heat
Using your hair dryer or heat gun on a low setting, warm up a corner of the window tint. The heat softens the adhesive, making the film easier to peel. Hold the heat source about 6 inches away from the window and move it slowly across the surface. You’ll know it’s working when the tint feels warm to the touch.
Step 3: Start Peeling
Once the corner is heated, use your fingernail or a plastic scraper to lift the edge of the tint. This may be difficult if you had the windows tinted professionally, as they can trim the tint extremely close to the edges of the window. Slowly peel the film away from the glass while continuing to apply heat just ahead of where you’re pulling. The key here is patience – rushing this step often results in the tint tearing into small pieces, making your job much harder.
Step 4: Remove Adhesive Residue
After removing the tint film, you’ll likely find sticky adhesive residue left on the glass. This is completely normal. Apply your soapy water solution or adhesive remover to the residue and let it sit for a few minutes. Then use your scraper to gently remove the sticky leftovers.
Common Challenges You Might Face
Stubborn adhesive: Some older tints use crazy strong adhesives that seem impossible to remove. This often requires multiple applications of adhesive remover and lots of patience.
Tint that tears easily: If your window tint breaks apart as you try to remove it, you might be dealing with very old or brittle film. This can turn a 30-minute job into several hours of back-breaking scraping.
Multiple layers: Sometimes homeowners discover their windows have multiple layers of tint applied over the years, significantly complicating the removal process. If this is the case, you can save yourself a ton of time by working your way to the final layer of tint before peeling the rest. If you work patiently enough, you can pull up multiple layers at the same time.
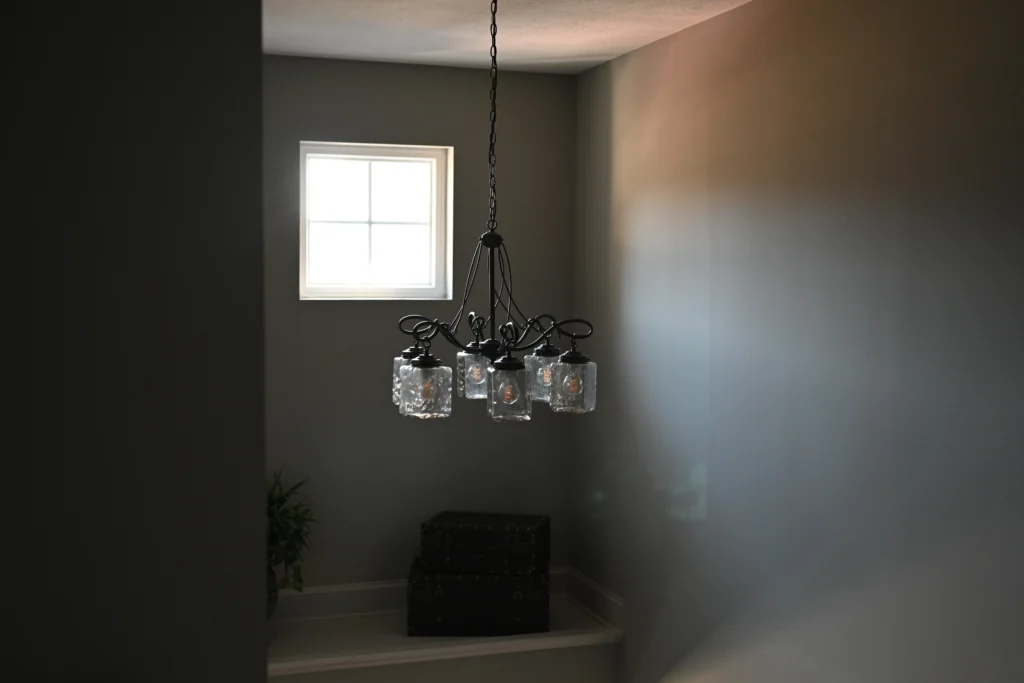
Hard-to-reach windows: Foyer windows, large picture windows, or windows in tight spaces can make DIY removal dangerous or nearly impossible.
When to Consider Professional Window Tint Removal
While removing window tint is certainly a DIY-friendly project, there are several situations where calling a professional makes more sense:
If you’re dealing with multiple windows, very old tint, or windows that are difficult to access safely, professional removal can save you hours of frustration. Additionally, if you’re planning to install new window film after removal, having a professional handle both the removal and installation ensures proper surface preparation and optimal results. You will likely be able to save money by bundling the jobs together.
Professional window tint specialists have commercial-grade tools and solutions that make the job faster and more thorough. They also have the experience to handle tough situations without damaging your windows or frames. This is something that often gets overlooked until you need to try and match the paint color that’s been in your family room since 2008.
The Time Investment Reality
Plan on spending at least 30 minutes per window for DIY removal, depending on the size and condition of your tint. For an average home with 10-15 windows, you may be looking at a full weekend project – and that’s assuming everything goes smoothly.
Preparing for New Window Tint
If you’re removing old tint to install new film, proper surface preparation is crucial. Any remaining adhesive residue will prevent new tint from adhering properly and will cause bubbles or premature failure. Professional installers know exactly how to prepare surfaces for the best results.
Making the Right Choice for Your Home
Removing window tint from house windows is possible as a DIY project, but it requires time, patience, and the right tools. Consider your available time, the number of windows involved, and your comfort level with detailed work when deciding whether to tackle this yourself or contact a professional window tinting service.
If you’re in the Mentor, Ohio area and decide you’d rather leave this job to the experts, or if you run into issues during your DIY attempt, don’t hesitate to call our team for assistance. We can handle both removal and installation efficiently, giving you the fresh, clean windows you want without the weekend-long hassle.
Whether you choose the DIY route or professional service, removing old, damaged window tint will improve both the appearance and functionality of your home’s windows.